Rendering a Wall
Rendering a wall can be a tricky process. If not done professionally can result in a lumpy and uneven surface.
Our experience and drive for perfection means that we guarantee a quality finish to every wall we render.
We’re so confident in our process, we’ve provided a step-by-step guide so you know you’ll receive a perfectly rendered wall with Project Render Systems.
How to Render a Wall
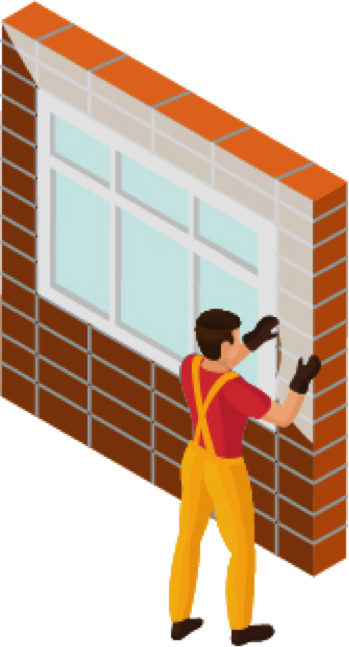
1. Assess the area to be rendered and remove any old render or old paint from the substrate were possible.
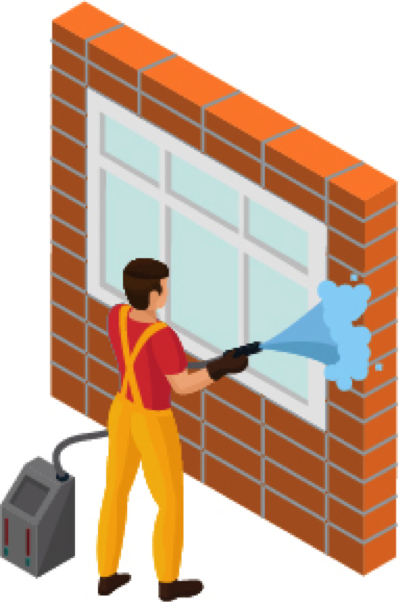
2. Prepare the walls using a jet wash to remove any false bodies, dirt or grime to create a clean, solid surface.
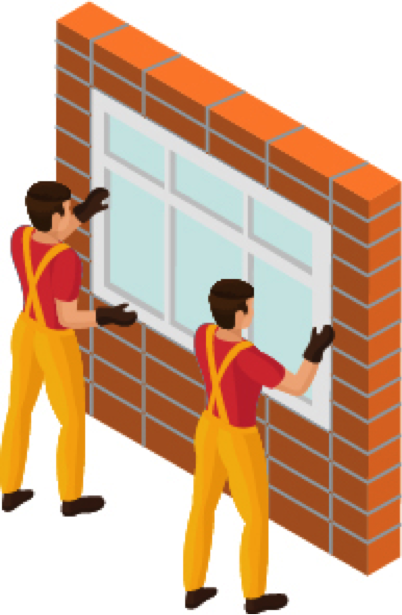
3. Fix specially formulated window protection and apply an external pre-grit to the substrate if required.
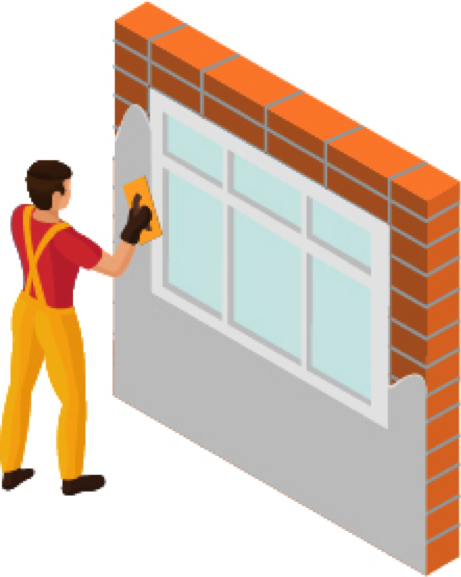
4. Apply base coats of render ensuring a perfectly flat finish. Structural reinforcing mesh is also used to avoid any cracking or displace of render under structural movement.
Contact us


© Project Render Systems 2019 |
Responsive Web Design by Prototype Creative